
Wednesday, December 15, 2010

Blueberry Coffee Cake Muffins

Muffins are like cupcakes, except that they are a little bigger and it is a widely accepted breakfast item in this part of the world (US). Also cupcakes normally come with frosting and muffins do not. When I think muffins, I think of blueberries, may be because I love blueberry muffins. I feel that muffins are at its best with blueberries; somehow I have a feeling that my 4 year old son believes so too. This recipe is from Ina Garten's book Barefoot Contessa Family Style. Even though it is called Coffee Cake muffins, coffee is not an ingredient; may be they call it so as it is eaten with/or intended to be eaten with coffee at the breakfast table.
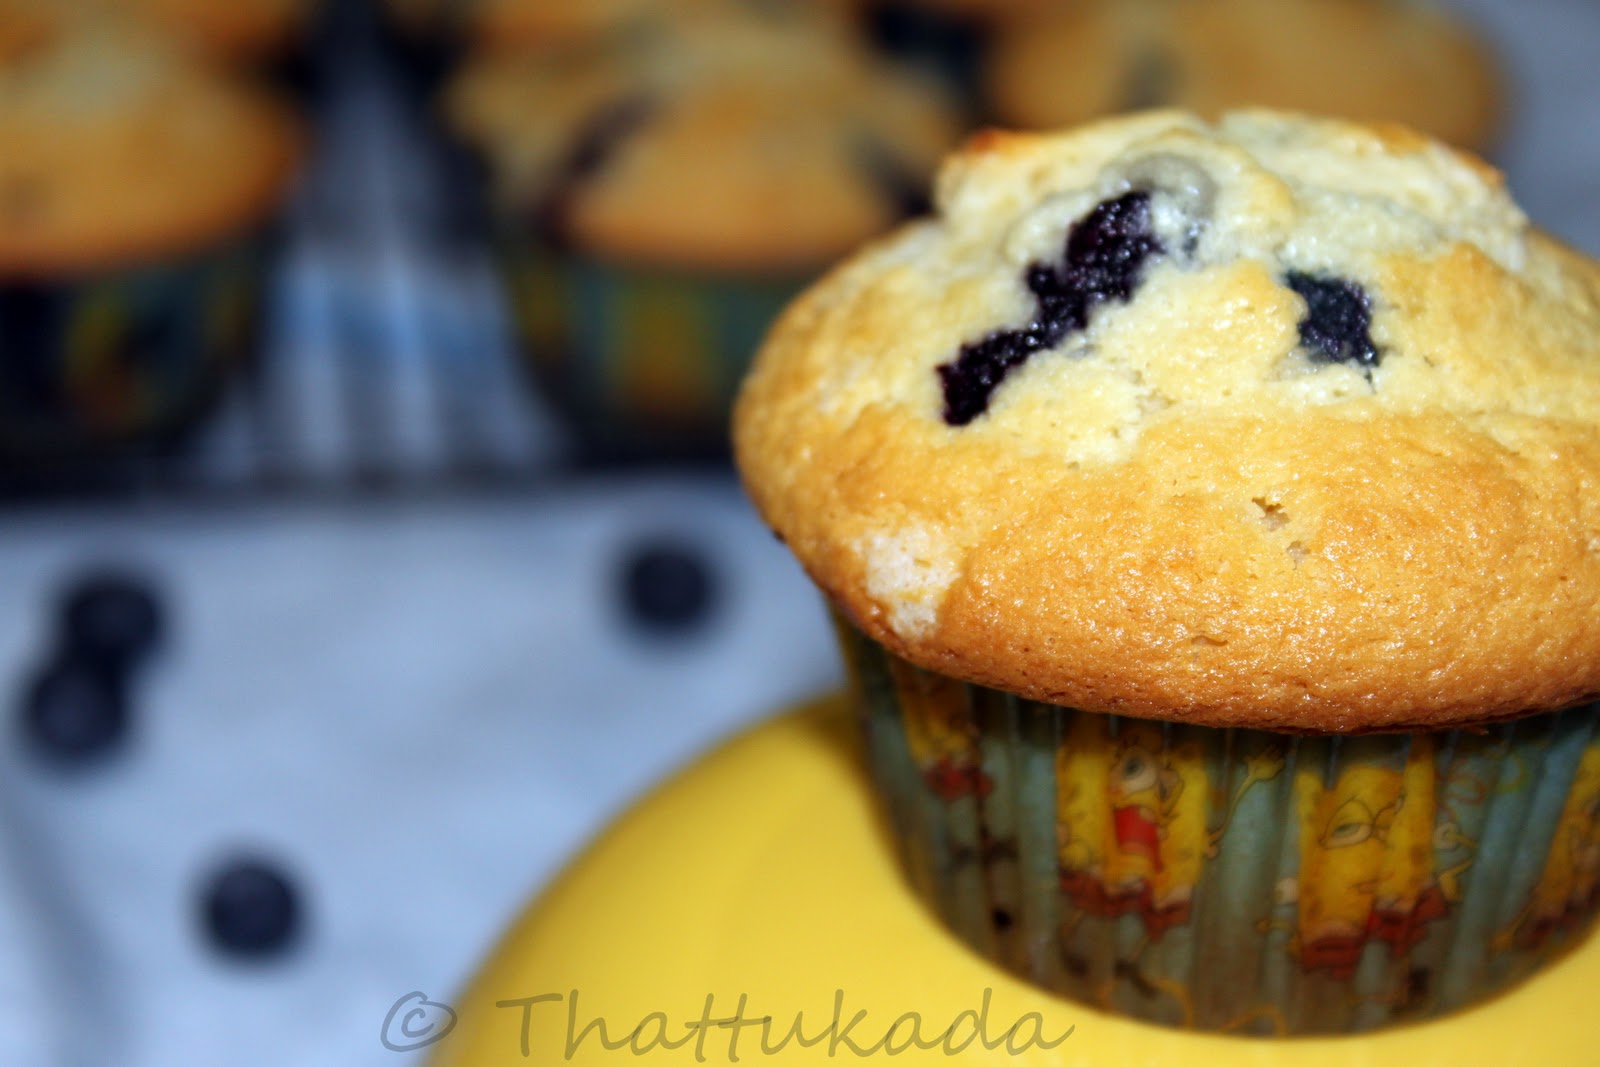

Makes 18 muffins

Unsalted Butter- 1 1/2 sticks (12 tbsp) at room temperature
Sugar- 1 1/2 cups
Extra Large Eggs- 3
Pure Vanilla Extract- 1 1/2 tsp
Sour Cream- 1 cup
Milk- 1/4 cup
All Purpose Flour- 2 1/2 cups
Baking Powder- 2 tsp
Baking Soda- 1/2 tsp
Salt- 1/2 tsp
Blueberry- 2 cups

  1. Cream the butter and sugar until light and fluffy for about 5 minutes using an electric mixer.
  2. With the mixer at low speed, add one egg at a time to the butter-sugar mixture.
  3. Add in vanilla, sour cream and milk to the batter and blend well.
  4. In a separate bowl, sift together the flour, baking powder, baking soda, and salt.
  5. With the mixer at low speed, add the flour mixture to the batter and beat until just mixed.
  6. Fold in the blueberries using a spatula and mix it slowly and uniformly into the batter.
  7. Preheat the oven at 350 degree F.
  8. Line the muffin tray with paper liners and scoop the batter into the paper liners in the muffin pan, filling each cup just over the top.
  9. Bake for 30 minutes until top of the muffins are lightly browned and a cake tester comes out clean.

A tip from the book to scoop equal quantity of batter for the muffins was to use an ice cream scoop and to grease the top of the muffin pans to make it easier to take the muffins out. Both the tips worked out well for me.


This is a must-try bakery style muffin which would be a sure hit among the kids. My son liked it so much that he was not happy about me taking a few to office for my friends.

Tuesday, December 7, 2010

Easy Indian Fish Fry

For me and my family (and for most people from South Kerala, I would think), a normal lunch consists of rice, a curry (could be a vegetarian curry like Sambhar, Moru Curry, etc or a non-veg curry like a Fish Curry), a thoran (stir-fried veggies) and a fish fry. Adding fish to your daily diet ensures that you get your daily dose of omega-3 fatty acids which helps reduce the risk of heart disease and promotes healthy brain function. In addition to all these health benefits, it just makes the lunch, or any meal, all the more exciting. The version of fish fry I have here is a simple 'n easy 'n quick one, to the extent that I do not even know if a posting for the same is needed in this space here. I am just going to go ahead and do it anyways!


Makes 18 square pieces

Fish- 1 lbs (I used Mahi Mahi)
Chilly Powder- 2 tsp
Turmeric Powder- 1/2 tsp
Salt- 3/4 tsp (add according to taste) 
Oil- as needed to fry
  1. Cut the fish into square pieces.
  2. Add the chilly powder, turmeric powder and salt to the fish and mix well with your hands. Do not add any water, as the water content in the fish should be enough.
  3. Keep the fish aside for a minimum of 30 minutes to marinate.
  4. You could shallow fry this fish with very little oil or deep fry with more oil. You also have the option of baking, by broiling the fish in a conventional oven for 10 minutes.

Enjoy the fried fish with a meal or even as an appetizer. When serving as an appetizer, you could add on some sliced onions and lemon on the side.

Tuesday, November 30, 2010

Parippu Vada / Lentil Fritters

It is getting colder and colder in this part of the world. These are the times when you feel like having some of those comfort snacks like Parippu Vada (Lentil Fritters), Ulli Vada (Onion Fritters), etc with a cup of steaming hot tea. I still remember those old days when we used to wait for the lady who used to bring parippu vada most every evening to sell at our place. We used to wait for her, so we can have the tea with the vadas. Now that I do not have the luxury of sitting and waiting for the lady who sells Parippu vada, I had to dig into my bookmarked recipe from Mishmash to make the vadas myself.  


Makes 20-22 vadas

Toor Dal- 1 cup
Small Onions/Shallots- 3/4 cup (chopped)
Ginger- 1/8 cup (thinly chopped)
Green Chilly- 1/8 cup (thinly chopped)
Curry Leaves- 2 twigs (chopped)
Salt- to taste
Oil- as needed to deep fry


  1. Soak the dal for at least an hour.
  2. In a grinder, quickly grind the dal into a very coarse paste and transfer to a bowl.
  3. Add in the chopped small onions, ginger, green chilly, curry leaves and salt to the dal and mix well.
  4. Check to see if you can make a small gooseberry size ball out of the dough and flatten it slightly with your palm. If you think the dough is not sticking together, it could be because the dough is too course. If this is the case, take half of the dough and mix it again in the grinder to a slightly less coarse texture. Mix this with the rest of the dough to create cohesiveness for the dough to stick together.
  5. Heat oil in a deep frying pan in medium flame. Test if the oil is hot by dropping a tiny bit of the dough and see if it comes to the top with oil bubbling around.
  6. When the oil is hot, start making the balls out of the dough, flattening it with your palms and fry it in the oil.
  7. Fry in a medium flame so that the inside is cooked well while the outside is crispy.


Serve your Parippu Vadas with a steaming hot cup of tea or coffee. What could be better than this on a cold and freezing wintry evening. Thanks Shn for sharing the recipe!
Related Posts with Thumbnails